
First and foremost...
Would you look who it is? I've been talking about starting a new blog to coincide with my youtube channel for a long time and i've finally committed to it!Since i have started my channel, i've found it a bit difficult to stay consistent with doing videos mainly due to time and the lack of space (and lighting and patience and energy and so on). I love making and editing videos for the most part because it's mainly how i keep in touch with my lovely subscribers but i wanted to create a different source of communication with all of you.
Along came this blog! I will be attempting to update my blog on a more regular basis, in between doing videos here and there. As we all know, videos are fun to watch and do but it is also a very long process. I'll be posting smaller scale hauls, reviews, OOTD's and such on this blog just as an extension of my channel.
Having this blog will also allow me to provide more pictures and detailed information about all the various things from my channel. Speaking of, lets dive into the REAL post:
How to DIY Ombre your hair
I posted the 'How to' video on my channel a little over a week ago and i've received several questions regarding instructions on the steps so i thought this would be an opportune first blog post to give you more details! I will be doing a DIY on Ombre 'Halo Highlights', which is basically ombre-ing pieces of hair that frame your face. Don't worry- pictures will follow :)
Here's the video if you'd rather watch:
Okay, lets get started!
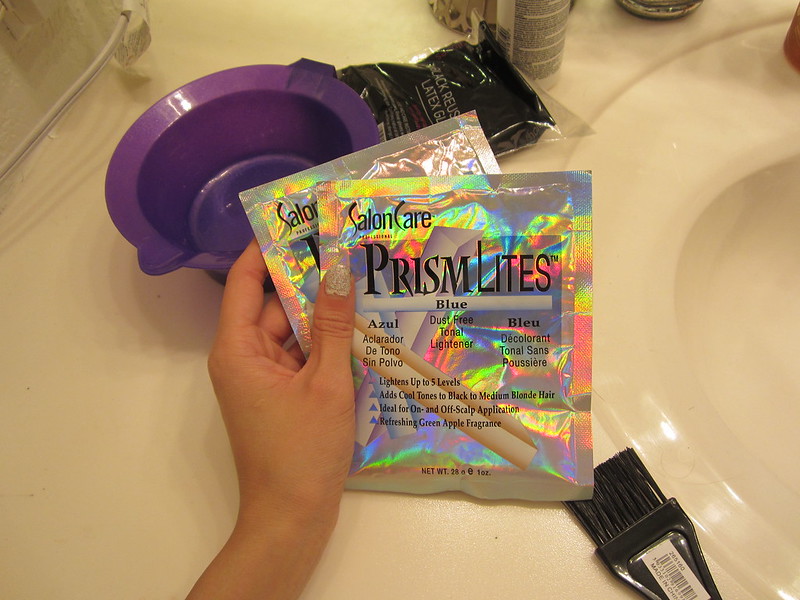
Here's what you'll need:
1. Set of protective gloves
2. Hair color mixing bowl
3. Hair color applicator brush
4. 2x Blue Powder lightener (this is basically bleach, not a blue hair dye)
5. 30 Volume creme developer (4 fl. oz bottle)
6. Old t-shirt you will probably ruin during this process
*optional:
7. Hair dye (your desired color after bleaching)
I did not show this process in the video but all i did was go over the bleached pieces with a golden brown hair dye afterwards to cover the brassy orange bleach aftermath.
Now, that you have your ingredients it doesn't get much harder from here!
You're going to combine both packs of powder lightener and the 30 volume creme developer into the color mixing bowl. This will take a gentle hand and some patience because you need to make sure the two are well mixed together! It will eventually become a thicker consistency and look a lot like blue frosting.
After you mix the two together you are going to start applying the bleach to your dry hair.
Now, remember this is an ombre technique so you won't need to apply the bleach all the way from root to ends. I started about 3-4 inches down the root of my hair so it would have that "ombre" effect. Remember you don't have to do this perfectly, it looks much more natural when you choose random pieces starting the ombre in various lengths.
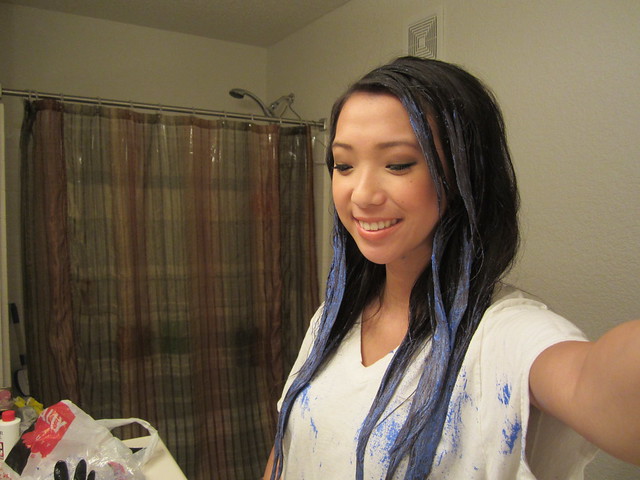
I look like i should be in Avatar. Anyway, you can see i only focused on the pieces around my face, leaving most of the hair on top and toward the back of my head unbleached.
Next step is to wait patiently. I actually waited about 25-30 mins. before i decided to rinse the bleach out. It will be smart to keep an eye on the color as you wait because it's up to you how light you want it to go.
Then you will want to rinse thoroughly! Make sure to get all that blue frosting out and you'll want to condition it to restore some of the moisture and what not from the bleaching process.
Here's an idea of what the aftermath of the bleach leaves you with. Although my hair is wet and nappy, you can tell it's done it's job of lifting the color, now a brownish/reddish/brassy tone.
Here's an idea of what the aftermath of the bleach leaves you with. Although my hair is wet and nappy, you can tell it's done it's job of lifting the color, now a brownish/reddish/brassy tone.

Think i could get away wearing this tee with my "personalized" graphic design?
Before & After (again i did add a regular hair dye over the bleached pieces to achieve a more golden brown color...wait for it, i promise it's coming)

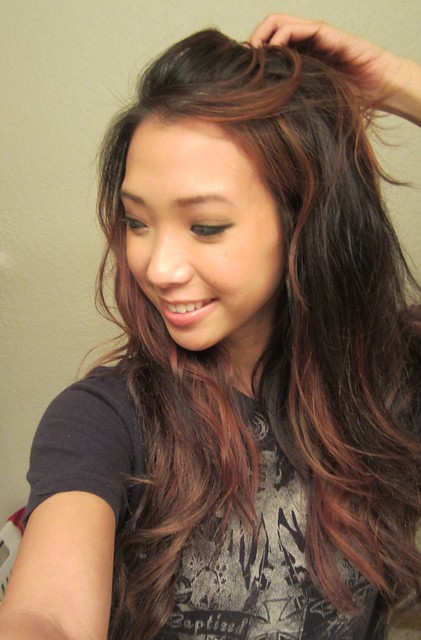
There were a few people saying how it looks almost red in the video and the picture above. For some reason the color does seem more red on camera but IRL it was more brassy orange- either way, it wasn't the color i hoped for which is why i had to go over it with hair dye. *I used L'oreal Preference in the color: medium golden brown
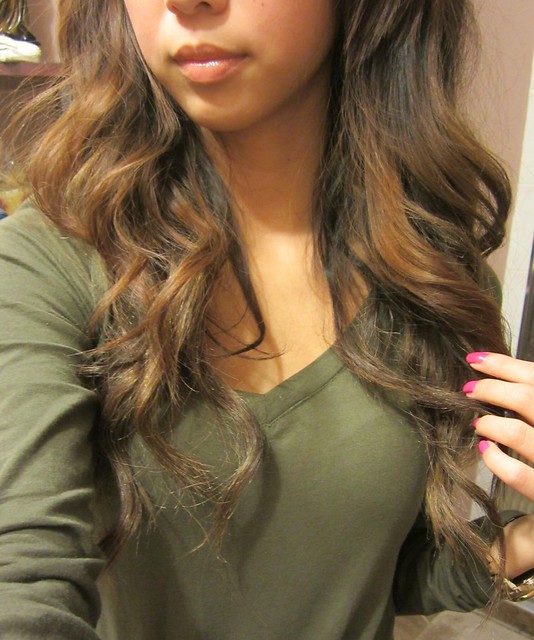
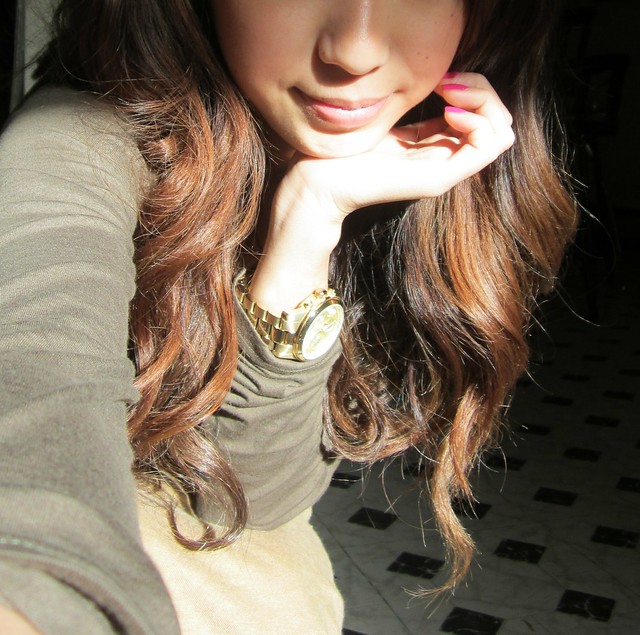
Here is the result of bleaching plus dying with the golden brown hair color, in various light settings because it tends to look different depending on lighting.
Bathroom lighting:
That about sums up the whole process, i hope you found it somewhat helpful but if you've got more questions- don't be afraid to ask. I think this was a fairly easy DIY because i've dyed my own hair several times in the past but if you haven't i would suggest having someone to help out.
Also this can be somewhat messy! So make sure you have a good amount of space to do this in and an easy to clean space at that. Since you are dealing with bleach, i would be careful of rugs, towels, clothes, eyes, mouth etc.!
If you've got any future request, please let me know :)


7 comments:
very nice look.
check out my blog and, if you want, let's follow each other on GFC or Bloglovin' or both ;)
www.LAByDiana.com
nice blog ^^ keep going))
http://amenfashion-christy.blogspot.com/
follow me and i follow you))
xoxo Christy
love your hair! thanks for sharing the video
Did you only apply the brown hair dye directly to the part you had lightened or your whole head?
Yes, this hairstyling method can be quite messy and might end in a disaster. It’s a good thing that you provided a great DIY instruction on how to ombre one’s hair easier. I actually love this hairstyle because it’s low maintenance and doesn’t need regular touch-ups unlike other highlights.
Regards,
Stela Dimitrov
what's the specific name of the Golden Brown hair dye that you used? It looks fab! x
Oops! Didn't read carefully enough! Got it...L'oreal Preference in the color: medium golden brown
Post a Comment